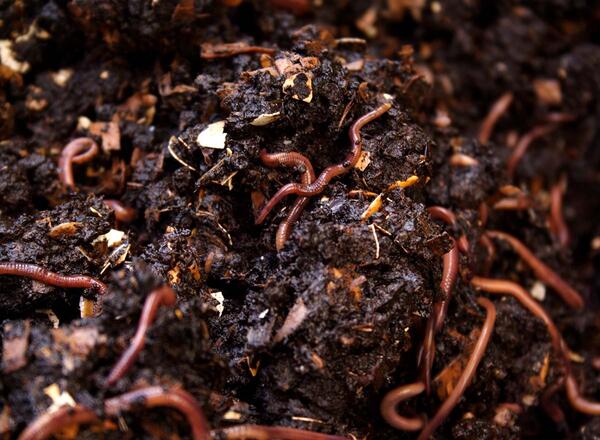
The compost we get from the worm bin is called worm castings, which is just a fancy word for worm poop. But not to worry this stuff is safe to touch.
Over time, the bedding and food scraps will begin to be replaced by dark, earthy-smelling vermicompost. To get this nutrient-rich organic matter, it is necessary to separate the worms from the compost. This is also a critical step because worm castings are toxic to the worms.
One method when using a large tote is to push all of the worm bin contents to one half of the bin, removing any large pieces of undecomposed food or newspaper. Put fresh bedding and food scraps in the empty side of the bin.
Over the next 2-3 weeks, the worms will move over to the new side (where the food is), conveniently leaving their compost behind in one section. When this has happened, remove the compost. To encourage worm migration, cover only the new side of the bin, causing the old side to dry out and the worms to seek a more favorable environment.
Worms also avoid light, so having the harvestable portion illuminated while allowing a dark fresh bedding location they can move to will assist in minimizing losing worms when harvesting.
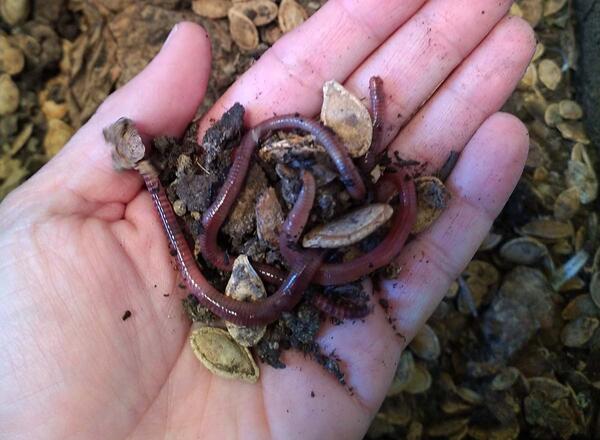
Another approach to harvesting is to dump out the entire worm bin and sort the worms out by hand.
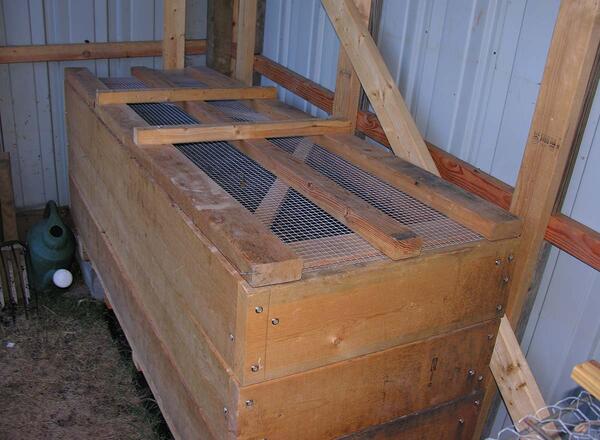
Finally, the stackable worm bin system works well to easily transition worms from a finished tray of compost to a fresh tray of food scraps and bedding.
Vermicompost can be used immediately or stored to use during the growing season. The vermicompost can be mixed into the soil as an amendment, topdressed around plants already in the ground, mixed into potting soil, or sprinkled into the containers of potted houseplants.